Add a File Upload to Forms in Squarespace

Sometimes you need more information on your forms than just text fields or checkboxes can give you.
Maybe you are an interior designer and you want inspiration pictures from your potential clients. Maybe you are a small business that’s hiring and you want to receive resumes. Or you could be a social media manager and need images and videos from your clients.
These are just some of the reasons you might need a file upload feature for your forms.
Until recently though, there was a problem if you wanted to upload files to your Squarespace forms. File upload just didn’t exist.
So, if you needed to be able to upload files on your forms you had to use a 3rd party option. This could mean added costs, or adding a form that wouldn’t match the rest of your site.
But now we have a built-in File Upload field that we can use in Squarespace forms.
How to Add File Upload to Your Squarespace Forms
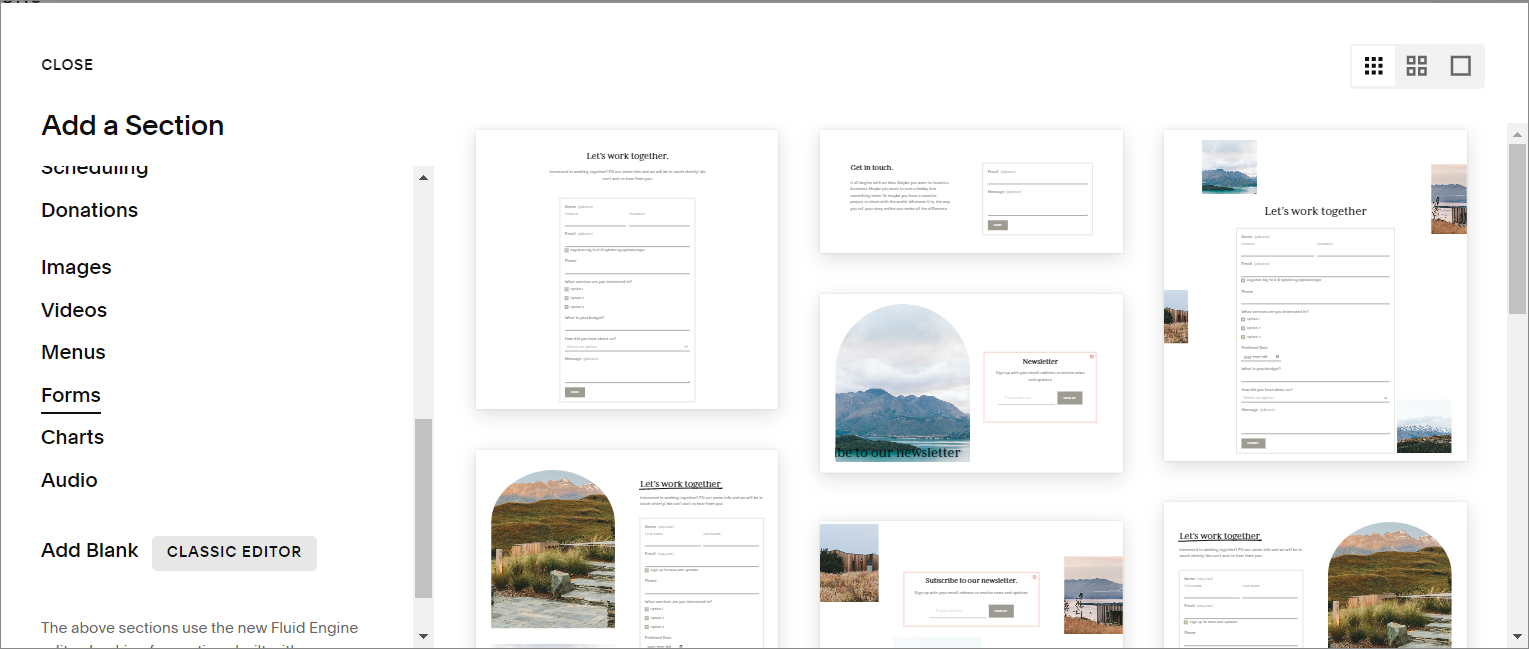
Step 1: Add a Form to Your Page
There are two easy ways to add a form to your page in Squarespace 7.1.
Option 1 – Add a Form Block
Click Edit in the top left corner of the page you want the form
Hover over the section you want the form and click +Add Block
Choose Form and drag the form into place

Option 2 – Add a Form Section
Click Edit in the top left corner of the page you want the form
Hover over the page and click Add Section where you want the new section
Click Forms, then click on a section layout to add to your page
* Google reCAPTCHA must be turned on before the File Upload field can be added to your form. It is generally turned on by default on all Squarespace forms, but it’s a good idea to check before you take the next step. Click on the Storage tab in the Form Editor to check.
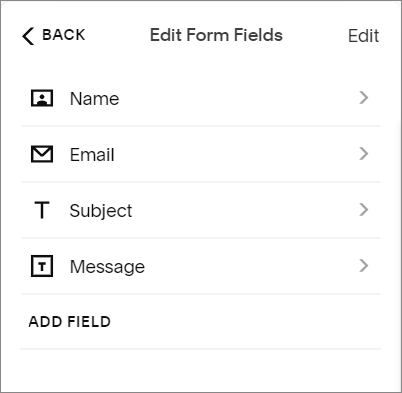
Step 2: Add File Upload Form Field
Click onto your form then click the pencil icon to edit
In the Content tab click Edit Form Fields
Click Add Field, then choose File Upload
Step 3: Edit File Upload Details
In Edit Form Fields tab click on File Upload (or the arrow next to name)
Edit the Upload description, label, file types or maximum amount of files visitors can upload
Click out of the form to finish
In the Edit Form Fields tab you can change the order of your form fields by dragging the fields into place. You can also delete any form fields that you don’t need (most forms start off with a few fields).
You might also want to change your storage options in the Form Editor. By default form results will be emailed to the owner of the website, but you can change this address in the Editor. You can also add secondary storage like Google Drive, Zapier or Mailchimp.
Related Post: How to Add and Style Your Squarespace Forms
What Files Can Be Uploaded?
Squarespace File Upload allows the following file types:
Image (.png, .jpg, .tiff, .heic)
Document (.docx, .doc, .pdf, .txt)
Presentation (.pptx, .pdf)
Video (.mp4, .avi, .avchd, .flv)
Audio (.mp3, .wav, .aac, .mp4, .alac)
You can also choose to allow only one or more types of files to be uploaded. Up to 5 files can be uploaded in each File Upload Field. Files can be up to 10MB each.
How Do I Download the Files?
After scanning the uploaded files for viruses, you will be sent an email with your form submission. This will include a link to the files. You can also access the files through links in the contact panel and any secondary storage source that you have added to the form.
*Please note: You must be the website owner or administrator to download the files.
Related Post: Add a Contributor to Your Squarespace Website
To download the file through your email you can just click the link to the file.
To access the link in the Contacts panel:

In the Main Menu click on Contacts
Click on the name of the form submitter
In the side panel click Form Details then click on the name of the form
You will now see all the form fields including the upload link(s)
Click the File Upload link