Where Did Everything Go in the New Squarespace Menu?

Did you get a little lost the last time you logged into Squarespace?
Where is the Pages menu? What happened to Designs?
Where did everything go in the Squarespace menu?
Squarespace has done a big reorganization of the editor menus recently, and it’s a little confusing. So, I thought I would write a little road map to let you know where all your favourite menu items or most used menu items have gone.
*I had no idea when I first wrote this blog in August 2023 that there were so many more changes to come in the menu. These changes are mostly due to new products offered by Squarespace. This blog has been updated again in March 2025 to reflect those changes – but there could be more changes coming. So stay tuned!
The Home Menu
The new Home Menu shows many of the things that it did before like Website, Scheduling and Analytics, but it also shows new selling tools like Donations, Content & Memberships and Products and Services. There is also a link to the new Invoicing tool.
In the bottom section of the menu you will see links to Email Campaigns, Contacts, Analytics and Finance.
There are also some handy new icons in the Home Menu.
The Search icon allows you to search through all the menus. This will be very helpful when any new updates happen!
The Edit Menu icon allows you to remove some of the items on your menu. So if you don’t sell any products or use scheduling, you can make your menu shorter and easier to navigate. Just toggle any menu item you don’t need to the off position (grey)
At the bottom of the menu you will see the Help icon. This sends you to the Squarespace Help Center.
The final icon is the Settings icon. This will open a huge popup of all the Squarespace settings. More info on that menu and some of the other important menus below.
The Website Menu
The Website menu used to contain just the pages to your site and some submenus, but now you can access Pages, Styles or Assets.
The Pages Menu
This menu allows you to see all the pages on your website. If you scroll down this new menu, past the pages of your website, you will also see a submenu called Utilities. This has 3 categories System Pages, Website Tools and Trash.
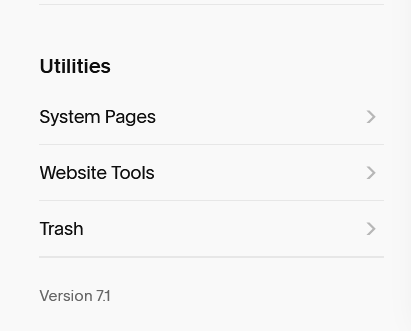
System Pages is the location to set up and/or design your 404 Page, your Lock Screen, your Access Denied Page for your member areas and your checkout page.
Website Tools now has two sub-sections: Custom Code and Messaging.
Custom code give you access to Custom CSS and Code Injection
Messaging gives you access to Mobile Information Bar, Announcement Bar and Promotional Pop-Up.
Trash shows your deleted pages.
Styles
This link opens your Site Styles, which allows you to customize the colours, fonts and buttons on your website.
You can also access Site Styles through the paintbrush icon in the top right hand corner of your website, next to the screen sizes. I personally prefer this method. It much quicker to do changes to colours or fonts while editing pages as you don’t need go back to the main menu to click Styles. You can just click the paintbrush at any time to access your Site Styles.

Assets
Clicking Assets will open your Asset Library which contains all the videos and images you’ve uploaded to your website. There you can organize your images into folders, rename them or upload new content.
Related Post: How to Organize Your Website Images with the Squarespace Asset Library
Commerce/Selling Tools
This is where things get a little complicated. Commerce on Squarespace used to be just physical products, services and a simple donation button. Now, they’ve greatly improved donations and introduced other products such as digital downloads and courses. These have been separated into three sections: Products & Services, Donations, and Content & Memberships.
Products & Services
The Products & Services panel lets you sell physical products, services plus digital downloads and gift cards. Digital downloads are downloadable items like ebooks or templates.
Donations
Use this panel to see the contributions to your fund.
Content & Memberships
Here you can start selling paid content. This includes Courses, Video Pages and Blogs. You can also create a members only section of your website with Member Sites.
Finance
This panel lets you see all your orders and donations.
To set up shipping or taxes for any of these items you will need to head to the settings menu.
The Settings Menu
The new Settings menu is big. Squarespace has tried to make it easier to find any kind of setting that you need by putting them all in one place, and then categorizing them in the menu. To access the settings click the cog icon in the Home Menu.
Here’s where some of the important settings have been placed.
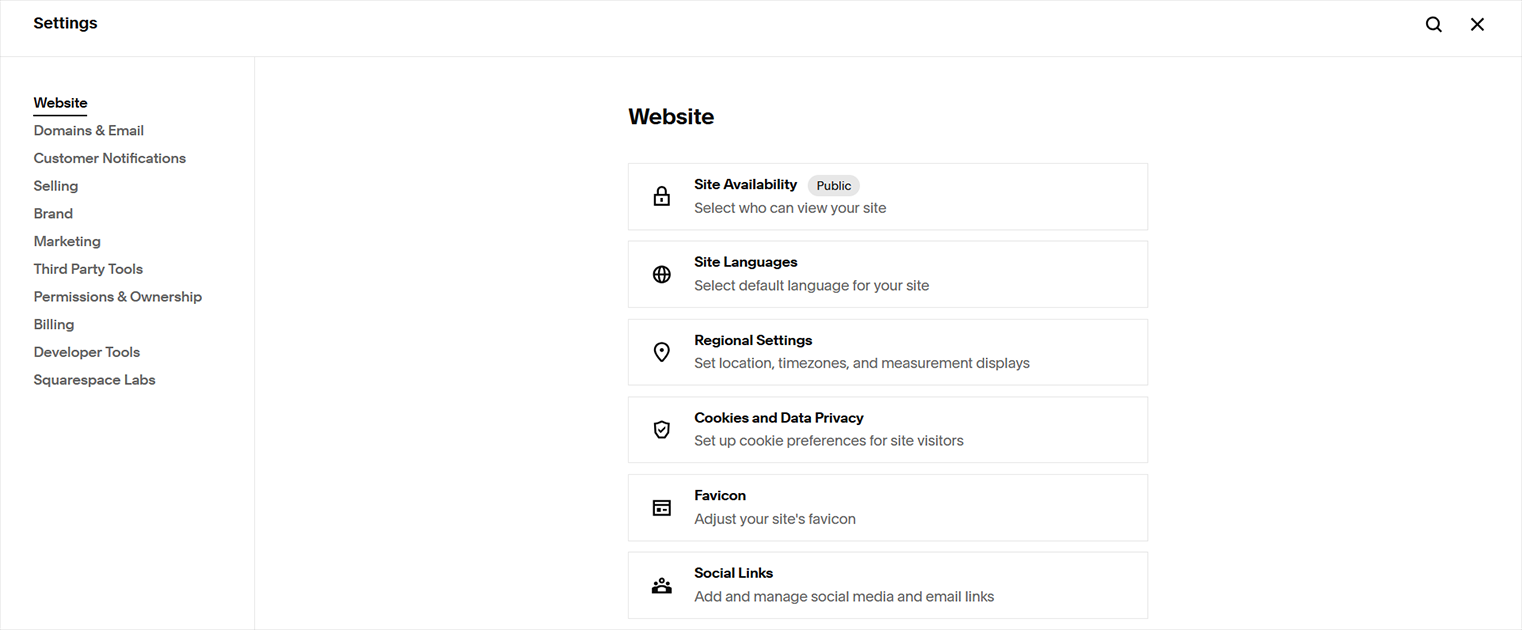
Settings > Website
The Website menu contains setting options for your Site Availability, Favicon (or browser icon), Social Links as well as your Cookie Banner.
Settings > Selling
If you are selling anything on your website you will need to go to this menu. Here you will find options for taxes, shipping and product reviews. You can also customize your checkout page and process.
Settings > Permissions & Ownership
I use these settings on every website that I create. Permissions & Ownership allows you to invite people to work on your website and allows you to transfer the ownership of the website to someone else.
Related Post: Add a contributor to your Squarespace website without giving away your password
Settings > Marketing
Set your site title & description using Marketing > SEO Appearance. This is how your homepage will show up in search engine results.
Settings > Billing
This is the menu to see your invoices or add a credit card to pay for your hosting. You can also manage any of your subscriptions. These are things like your hosting, domain or email.
Still having trouble finding something?
I recommend using the new search icon in the menu or using my favourite Squarespace keyboard shortcut. Click on the front slash / to bring up a search bar for the menu. It’s a fast way to get around the menu – no matter the setup!
Related Post: 5 of my favourite Squarespace Shortcuts

Want more tips?
Get all the latest news, updates, tutorials, discounts and tips about Squarespace, Web Design, SEO and more.
Sent out once a month, so I don’t clog up your email!